Appearance
Drawing and Connecting
Placing symbols from the stencil library, connecting them with pipelines and signal lines, and the everyday editing tools — selection, undo/redo, arrangement and layers.
Placing symbols
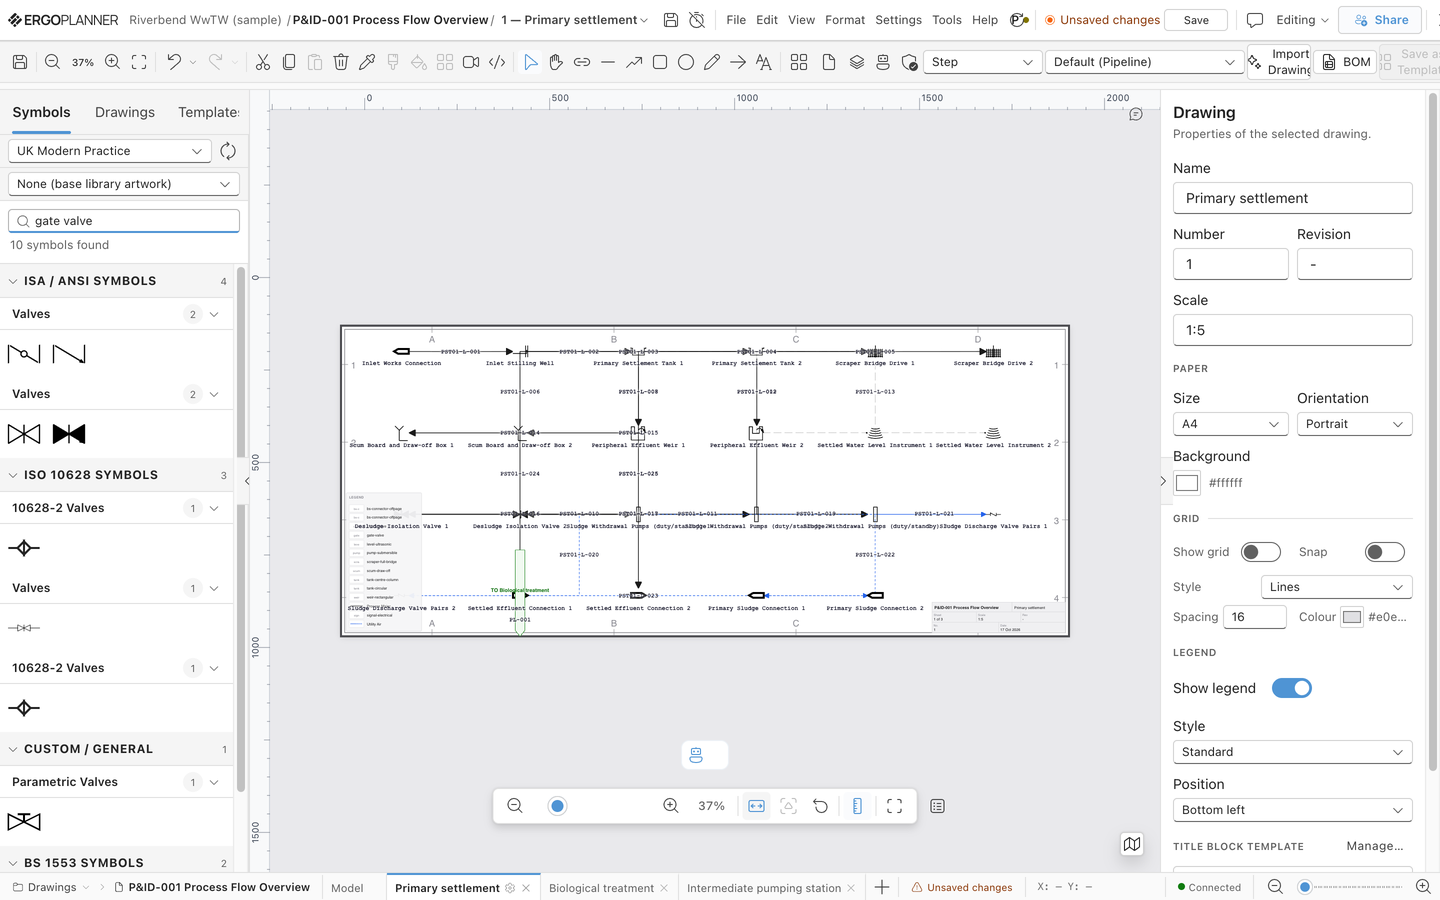
The stencil sidebar on the left is the symbol library:
- Search — type into "Find symbols..." to filter across all standards and categories (the search updates as you type).
- Browse — symbols are grouped by drawing standard, then by category. Click a category header to expand or collapse it.
- Recent — symbols you have placed recently appear at the top for quick re-use (with a clear button).
To place a symbol, either drag it onto the canvas (it lands where you drop it) or click it (it is placed at the centre of the current view).
Once placed:
- Move — select the symbol and drag it.
- Resize — drag the selection handles.
- Rotate — use the Rotate Left / Rotate Right 90° buttons in the ribbon's Arrange group.
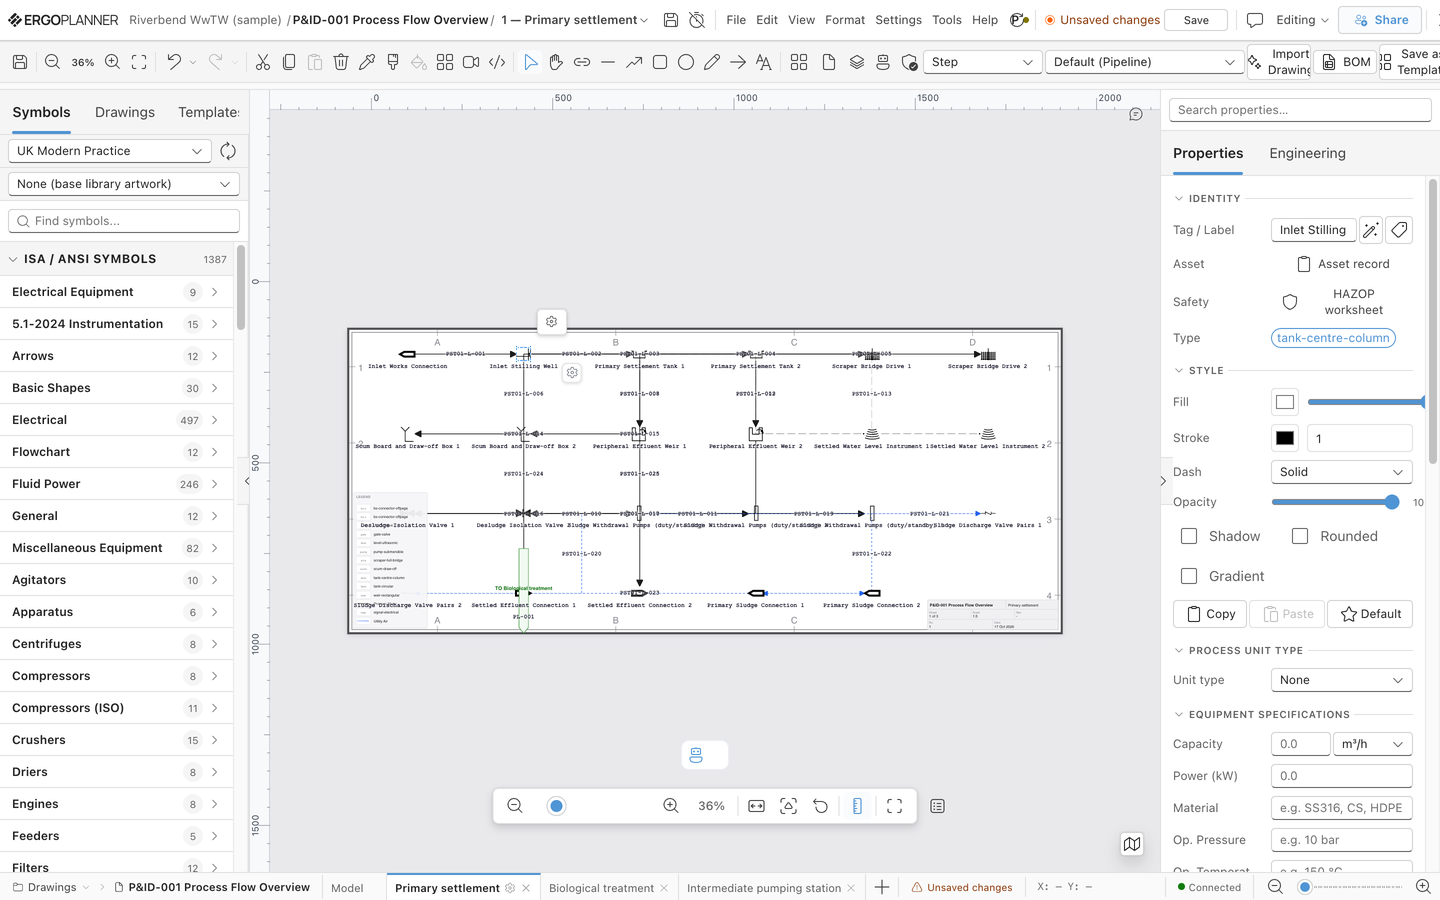
- Properties — with the symbol selected, edit its tag and properties in the right panel.
Newer library versions
Each symbol you place remembers which version of its symbol library it came from (symbols pasted or duplicated keep it). When the library has since moved to a newer version, a notice appears at the top of the drawing: "N symbols have newer library versions". Show selects those symbols so you can see where they are; Dismiss hides the notice until you reopen the drawing. The notice is informational: symbols always draw from the current library, and nothing is changed for you. Symbols placed before this was recorded are not checked.
Connections and pipelines
Use the Connector tool (K) to draw process and signal connections: activate the tool, click a port on the source symbol, then click a port on the target symbol. Connections route orthogonally (horizontal/vertical segments) by default; the edge routing dropdown in the toolbar changes the routing style for new connections.
Easy connect. While you drag a connection, you do not have to land on a port. Drop it anywhere on the body of a symbol and the connection attaches to that symbol's nearest port (to the cursor); the symbol is highlighted green while you hover it. A symbol with no ports still takes a floating attachment.
Line types
The Line Type dropdown (next to the edge routing dropdown) sets the default line type for new connections. It offers, with a preview of each line style:
- Default (Pipeline) — the standard process pipeline.
- Pipelines — the pipeline line-type family (major/minor process, utility lines, and so on).
- Signal (ISA 5.1) — instrument signal line styles per ISA 5.1.
- Instrument (BS) — instrument line styles per the BS convention.
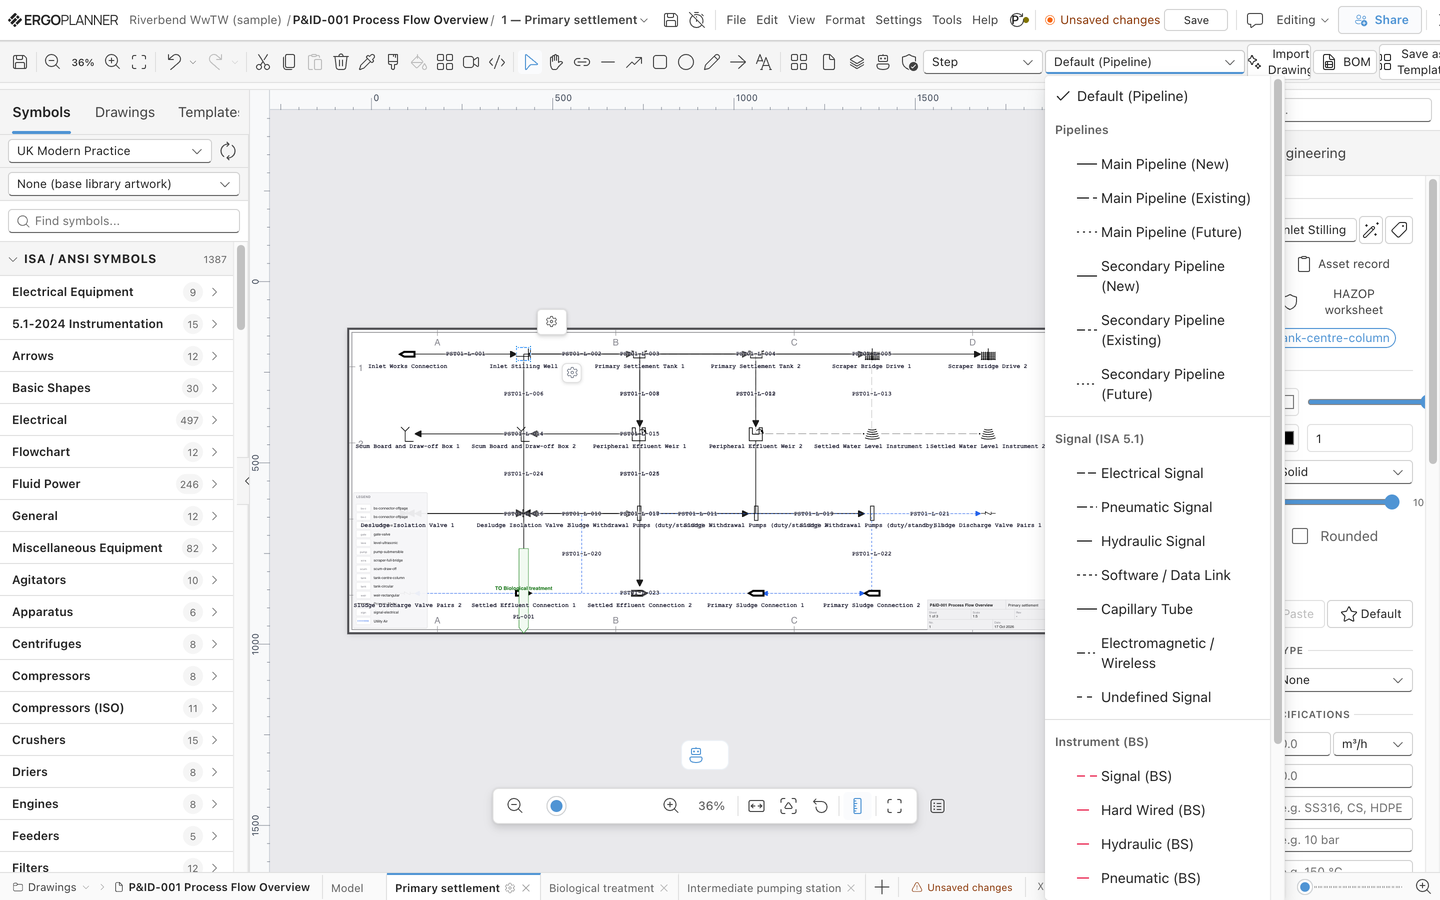
A selected connection's line type and properties can be changed afterwards from its properties panel. The ribbon's Pipeline Tools group also gives access to Pipeline Properties and the Line List viewer.
Freehand shapes and annotation
Beyond symbols and connections, the drawing tools in the toolbar add plain geometry and text: Line (L), Polyline (P), Rectangle (R), Ellipse (E), Polygon, Arc (A), Freehand (F), Arrow Line and Text (T).
Selection
- Select tool (V) — click an element to select it; drag on empty canvas to marquee-select everything inside the band.
- Cut / Copy / Paste / Delete —
Ctrl+X/Ctrl+C/Ctrl+V/Del, also on the toolbar and Edit menu. - Duplicate —
Ctrl+D, or Duplicate in the right-click menu (which also has Copy and Paste). Copy, paste and duplicate work on symbols, connections and groups; a copied group keeps its members together. - Tags on pasted copies — a pasted or duplicated symbol would repeat the original's tag, so any tag another element already shows is replaced with the next free tag from the project's numbering pattern, registered like a freshly placed symbol's, and a toast tells you. See Tag Numbering and Conflicts.
- Format Painter — copy the visual style of one element onto others.
Undo and redo
Ctrl+Z undoes, Ctrl+Y redoes. The toolbar's Undo/Redo are split buttons — click the arrow to undo or redo several steps in one go.
Arranging elements
With two or more elements selected, the ribbon's Arrange group enables Align (left / centre / right / top / middle / bottom) and, with three or more, Distribute (horizontal / vertical). Bring to Front and Send to Back control stacking order.
Snap to grid (the Snap switch in the ribbon's view group) keeps placements aligned to the grid; Grid options and Page setup configure the grid and sheet.
Auto-arrange labels
Tags sitting on top of each other are hard to read, so the editor nudges them apart for you. Auto-arrange labels is on by default for new drawings — when two element or connection tags would overlap, the engine moves them to the nearest free position and, if a tag ends up far from its symbol, draws a short leader line back to it.
Toggle it with the label button next to the zoom controls at the bottom of the canvas, or press Alt+L. The button is highlighted while auto-arrange is on, and the same setting also appears as Auto-arrange labels under Labels in the properties panel when nothing is selected. It is stored per drawing, so turning it off on one drawing does not affect the others.
Two things it never does: it never moves a tag you have pinned (pin a tag from its quick menu to fix it exactly where you put it), and it is off by default on drawings created before this feature shipped, so nothing you laid out by hand is rearranged behind your back. Turn it on for those drawings when you want it.
Layers
Click the Layers button in the toolbar to open the Layer panel. From there you can organise elements into layers, control visibility and locking per layer, and manage the special Background Image row when a reference raster is loaded — see Background Images.
Validation and search
- Validation — the shield button in the toolbar opens the validation panel and shows the current issue count.
- Find & Replace —
Ctrl+Fsearches tags and text on the drawing.
Next
To digitise an existing scanned P&ID instead of drawing it by hand, continue to Importing a P&ID.